
How to choose an eyelash extension adhesive: formulations, storage and our top picks
Eyelash extension adhesive formulation, bonding speed, consistency and flexibility, shelf life, storage and allergy prevention. At the end, you'll find the adhesives we recommend for beginner, advanced and professional artists.
Содержание (26)
Adhesive essentials
Eyelash extension adhesive bonds the artificial lash to the natural one: it determines retention, how neat the work is, and the risk of allergy for both client and artist.
Adhesive composition
Cyanoacrylate
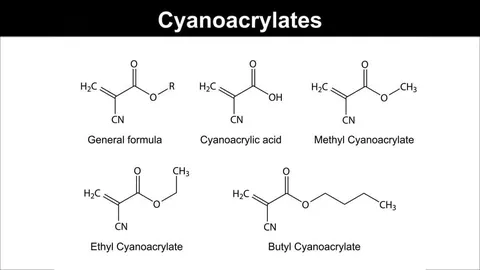
The main component of the adhesive is cyanoacrylate, which makes up 75 to 95% of it. It is a liquid monomer: on contact with moisture in the air it polymerises into a solid polymer that firmly bonds the artificial lash to the natural one.
Cyanoacrylates fall into 4 groups: ethyl, methyl, butyl and alkoxy. Ethyl is the most common in eyelash extensions, offering the best balance of price and quality. Methyl is cheaper than ethyl, while butyl is more expensive (it is more often used in medicine). Alkoxy is the safest: adhesives based on it are the most hypoallergenic.
The proportion of cyanoacrylate determines the polymerisation speed (drying time), retention and the amount of fumes.
Stabiliser
The stabiliser widens the range of temperature and humidity in which the adhesive performs as it should. It makes the artist's job easier when conditions in the treatment room cannot be kept under control.
Polymethyl methacrylate (PMMA)
A plasticiser and bonding component. It keeps the adhesive flexible after polymerisation, so the lash can be slightly adjusted during application — its angle and direction. During wear, a flexible adhesive pulls less on the natural lash when the extension is under strain.
A good adhesive bends once dry rather than snapping or crumbling.
PMMA also affects the adhesive's consistency (viscosity) and drying time.
Colourant
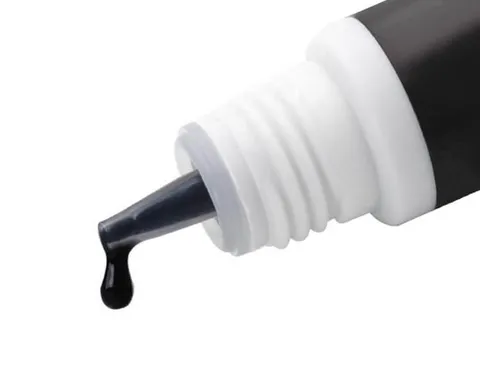
A colouring pigment, most often Carbon Black, which makes the adhesive anything from dark grey to black.
Clear adhesive contains no colourant, so it is suitable for coloured extensions.
How to choose an adhesive
The ratio of components determines the characteristics used to choose an adhesive.
Consistency
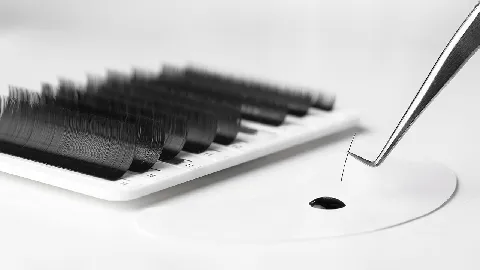
Adhesive comes in very thin, thin, medium, thick and very thick consistencies.
A thin adhesive doesn’t form a large drop on the lash, so it’s easier to avoid stickies and work neatly. A thick one takes skill, but it gives a strong bond and longer retention.
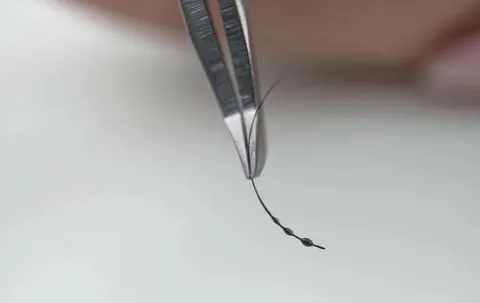
Drying speed
By polymerisation speed (drying speed), adhesive can be fast — 0.5–1 s, medium — 1 s, or slow — 1–2 s or more.
The speed is chosen to suit your working pace and experience. Beginners usually opt for a slow adhesive so they can keep up with it. With a fast adhesive, an inexperienced artist may not manage to attach the fan in time: it either won’t stick at all or will stick only on residual tackiness and soon fall off.
Another advantage of a slow adhesive for beginners is that you can correct mistakes during the procedure itself.
As they gain experience, artists move on to medium- and fast-drying adhesives: the faster the adhesive, the shorter the procedure.
Take the season into account. In hot weather adhesive polymerises faster, so in summer artists choose a slower one: in the heat a fast adhesive sets almost instantly, and even an experienced artist can’t keep up with it.
Flexibility
High flexibility lets you adjust a lash and separate stickies. Low flexibility suits experienced artists for whom working speed matters, and it makes the adhesive go further.
Colour
Adhesive comes in black and clear. On finished extensions the colour is barely noticeable. Black suits classic, volume and mega volume sets with black lashes, while clear is better for light and coloured lashes — it also makes a natural effect easier to achieve.
Retention
This depends on the adhesive’s composition and the conditions in which the extensions were applied, as well as on the artist’s skill and whether the client follows the aftercare advice. The benchmark is up to 8 weeks.
Pay attention to the smell: a strong chemical odour indicates that the adhesive has gone off or that its composition is unsafe for the client. Long retention isn’t worth harming anyone’s health.
Hypoallergenic properties
A hypoallergenic adhesive has a gentler composition and gives off fewer fumes while still bonding well. Alkoxy in the ingredients is a sign of lower toxicity.
A hypoallergenic adhesive doesn’t rule out an allergy; it only reduces the risk.
How “temperamental” the adhesive is
Adhesive becomes “temperamental” when conditions don’t suit it. The optimal conditions are:
Temperature: 18–22 °C
Humidity: 40–70%
The higher the humidity and temperature, the faster the adhesive polymerises.
Even a slight deviation from these conditions can make it “play up”. There are two solutions: choose a less demanding adhesive or adjust the conditions — monitor them with a thermo-hygrometer and use a humidifier and air conditioning.
Three questions for an expert
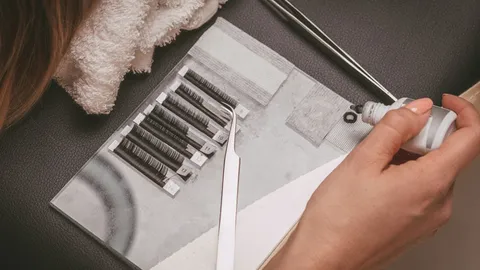
We talked to lash artist Anna about contraindications, adhesive composition and tips for beginners.
Are there any contraindications for eyelash extensions?
— As with any procedure, there are only a few contraindications, but they do exist. No competent artist will do eyelash extensions if the client has an eye condition such as a stye, conjunctivitis or any other inflammation of the eyelids. Allergies, asthma and viral illnesses are also contraindications, so if you fall ill, it is better to reschedule your appointment. I also advise against extensions while taking antibiotics or hormonal medication, when there is a hormonal imbalance, or during menstruation, as this will affect how long the lashes last.
How important is the adhesive’s composition to you?
— I prefer two-component adhesives containing several types of cyanoacrylate, and I recommend them to my students, as they are less temperamental. If I come across an alkoxy-based adhesive, I always buy it as well. It is less toxic, and whenever you can reduce the number of allergens in your work, you should take that chance.
Choosing an adhesive: tips for beginners
— Don’t be afraid to try adhesives with different properties. Very few people find “the one” straight away. Try several adhesives with different bonding speeds and see how they perform in your own conditions.
Buy a thermo-hygrometer straight away so that you can always keep an eye on the conditions in your treatment room. No adhesive, however expensive, will work properly if the room is as dry as a desert.
Beginners are always told to use a slow adhesive, but you shouldn’t start with one that has a 3–4 s bonding time, especially if the conditions in your treatment room are far from ideal. In a dry room, a slow adhesive becomes even slower. You have to hold each lash in place on the natural lash, lashes stick together and the procedure drags on. Choose an adhesive with a 1–2 s bonding time instead. You will get fewer stuck-together lashes and cleaner work.
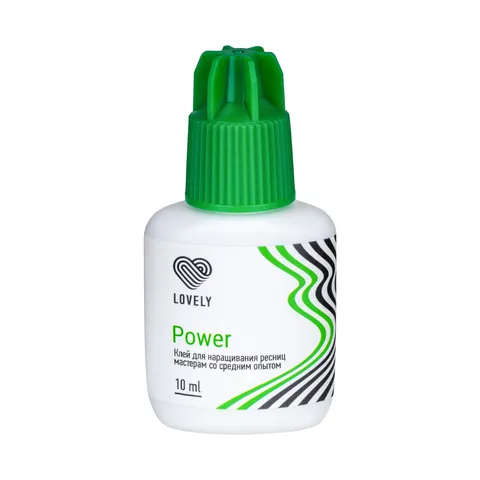
Where possible, choose a flexible adhesive (one containing PMMA, polymethyl methacrylate). It is easier to correct and gives cleaner extensions. Lovely, for example, has the Power adhesive, which sets in 2–3 s.
Experiment and practise as much as you can, and you will quickly become a professional.
Shelf life
An adhesive has two important dates: the date of manufacture and the date the bottle was opened.
Manufacturers usually state a shelf life of 6 months from the date of manufacture and 1–2 months after opening. In practice, these periods are on the cautious side. If stored correctly, an adhesive works for 8–10 months from the date of manufacture and 3–4 months after opening.
Once it has expired, the adhesive loses its properties, and you will no longer get high-quality extensions that last a long time.
Only buy as much adhesive as you can use before it expires, so that you don’t end up throwing away bottles that are almost full.
How to store adhesive
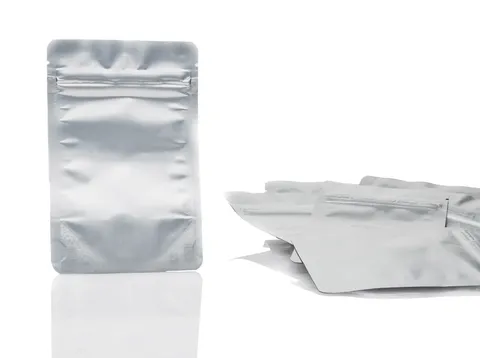
Temperature and humidity matter most when storing adhesive. Many artists don’t keep adhesive in the fridge because condensation can form inside the bottle. However, manufacturers recommend storing it at +5 °C, and anything from +5 to +24 °C is acceptable, so a dark, cool, dry place will also do. We recommend keeping the adhesive tightly closed in the fridge, inside a thermal bag with silica gel. Take it out about an hour before the procedure so that it can warm up to the temperature of the treatment room.
Shake the adhesive well before each use, moving it horizontally from left to right. Always keep an open bottle upright. This stops the adhesive from flowing into the nozzle and drying there.
Wipe the nozzle with a lint-free wipe after every drop. If the nozzle has dried up, clear it with a needle or replace it.
After the procedure, screw the cap on tightly so that no air gets into the bottle, and put the adhesive back in its thermal bag.
Keep the adhesive out of direct sunlight and away from changes in temperature.
Adhesive allergy
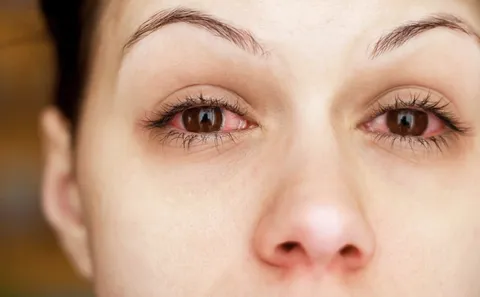
The main cause of allergies in both artists and clients is cyanoacrylate fumes. Even “hypoallergenic” adhesives do not rule out an allergy; they only reduce the risk. What’s more, an allergy to adhesive builds up over time.
Symptoms vary from person to person, but the most common are:
Red, burning eyes and heavy watering
Swollen eyelids
Itching around the lashes
Dry, uncomfortable eyes
Weakness and dizziness
Allergic rhinitis
Sneezing
There is no such thing as a completely safe adhesive: a fast-setting adhesive with long retention and no fumes is almost impossible to find. In all our years of work, we have found only one: TimBale Evolution.
How to reduce the risk of allergy
A protective mask. A respirator is best, and one with a carbon filter is better still: it fits snugly to the face and protects against fumes. The mask is reusable; replace it when breathing becomes difficult or you can smell the adhesive.
A humidifier: the adhesive also performs better when the humidity is right.
Airing the room before every treatment.
Anti-allergy gel: an open jar is placed next to the adhesive drop, the main source of fumes, and the gel absorbs them.
Anti-allergy spray, or neutraliser, works the same way: spray it onto a cotton pad and place it next to the drop. Gel or spray is a matter of preference.
Water: drink often to avoid a scratchy throat and coughing.
An adhesive with the lowest proportion of ethyl cyanoacrylate, or one based on alkoxy, the least toxic cyanoacrylate.
Quenching the drop: a quenched drop gives off fewer fumes. Drops are quenched with water, primer, adhesive booster or a damp cotton bud; some artists use chlorhexidine.
Lashes and adhesive: how it all works
Working with the drop
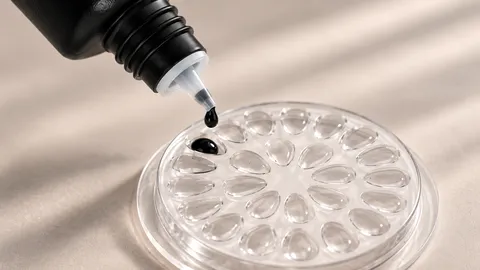
The adhesive drop is squeezed onto a special surface: a palette with wells, a glue ring or a jade stone — a cold stone keeps the drop workable for longer.
One drop is enough, as the adhesive dries quickly. Replace the drop roughly every 20 minutes.
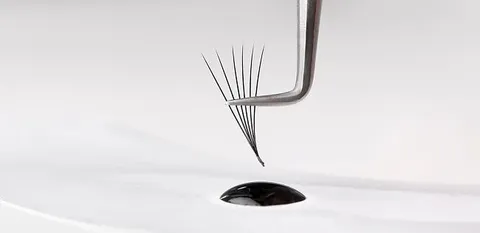
How do you pick up adhesive on the base of a lash or fan? Every artist has their own technique; here is the classic one:
Hold the lash or fan with tweezers at the middle or slightly above.
Dip the lash into the centre of the drop, where the adhesive is freshest.
Dip it vertically or at an angle. When dipping at an angle, make sure the whole base of the lash goes into the adhesive.
Do not stir the adhesive with the lash or move it from side to side — you will pick up thickened adhesive.
Withdraw the lash smoothly: a sharp movement picks up too much adhesive and you will have to remove the excess. Over time, you will find your own speed at which exactly the right amount of adhesive stays on the lash.
Dip the lash to 30–50% of its length. The larger the bonding area, the better the retention, but 50% is the maximum.
There should be a tiny bead of adhesive at the base of the withdrawn lash. If there is none, or it sits higher up, dip the lash again and withdraw it slightly faster.
If the bead is too large, dip again and withdraw slightly more slowly.
Separate the natural lashes with tweezers, choose one and attach the extension to it 0.5–1 mm away from the skin — never right up against it.
How to avoid stickies
Stickies are lashes glued to one another, whether extensions or natural lashes. They most often happen to beginner artists.
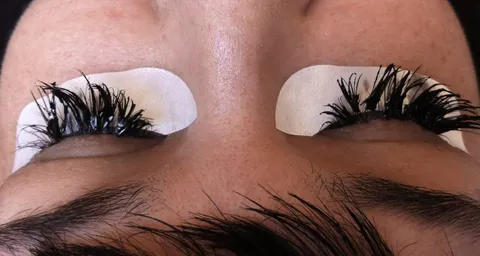
Stuck lashes are not just unsightly. Lashes grow in different phases – for example, one may be in the anagen phase and another in the telogen phase – and a lash that is shedding pulls out its neighbour, which is not yet ready to fall out. Where lashes are stuck together, they bend and become deformed, causing the client discomfort.
Stuck lashes are easy to find: gently comb through the lashes from base to tip. If the brush catches, there are stuck lashes. Severe ones are visible to the naked eye.
Types of stuck lashes:
Severe – excess adhesive is visible to the naked eye.
Lashes glued to the skin – a serious breach of technique.
Invisible stuck lashes – noticeable only on close inspection. As the lashes grow out, the hairs “move” together and form a “tick” shape.
“Perfect” stuck lashes – visible only on very careful inspection. They occur when the artist does not isolate each lash properly.
Do not pull stuck lashes apart mechanically. If the adhesive has already dried, only a liquid remover and spot correction will help.
Ranking of the best eyelash extension adhesives
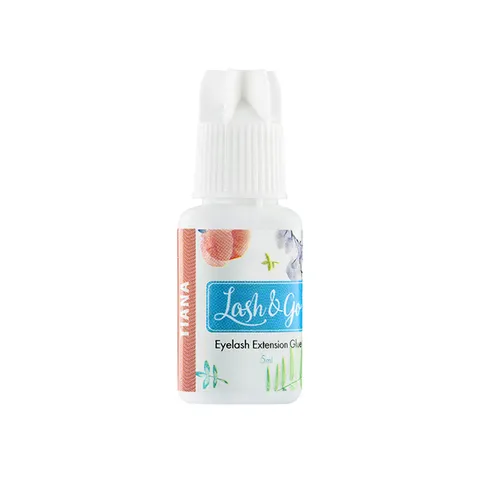
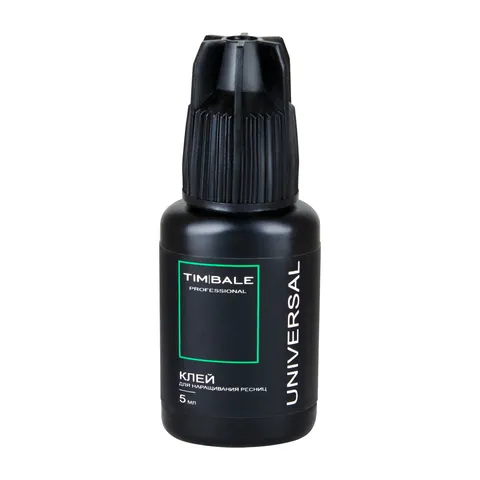
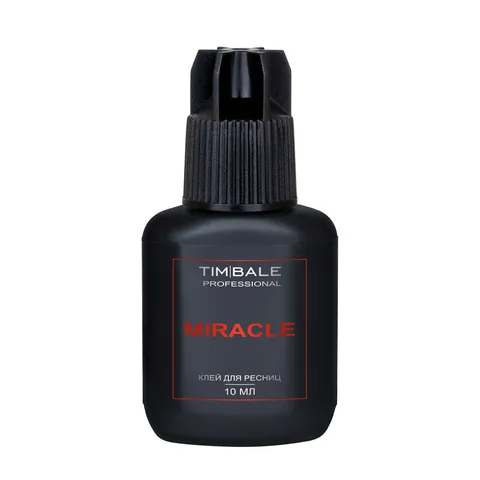
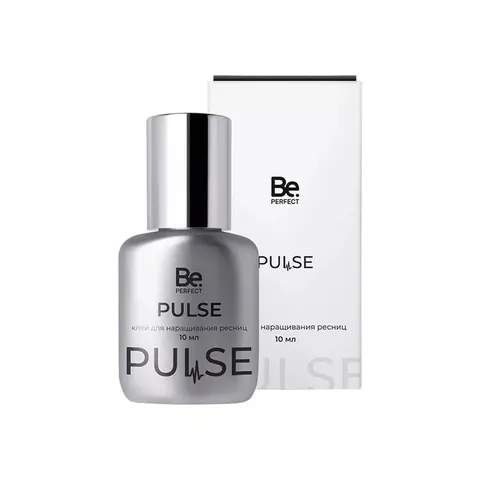
The brands whose adhesives we trust most are BARBARA, Enigma, Lovely, TimBale, Be Perfect, Lash&Go and elSHINE. From their ranges, we have picked adhesives for artists at three skill levels.
Beginner level
Advanced level
Another adhesive at this level is elSHINE Sun: 1 sec bonding time, up to 55 days’ retention, watery consistency, minimal fumes and a banana scent.
Professional level
Читать также
Brow tinting recommendations
Brow tint or brow henna: pros and cons, choosing a shade to match hair colour, how often to tint, allergies, contraindications and aftercare.
The best lash removers and how to use them
Cream, gel and liquid removers: how they differ, how long to leave them on, how to remove extensions and clean off residue. At the end, you'll find the cream removers we recommend.